
Edit Main tab
 The user training video Subject Outlines: Edit Main also shows you how to view and edit subject data via the Edit Main tab.
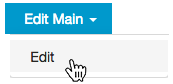
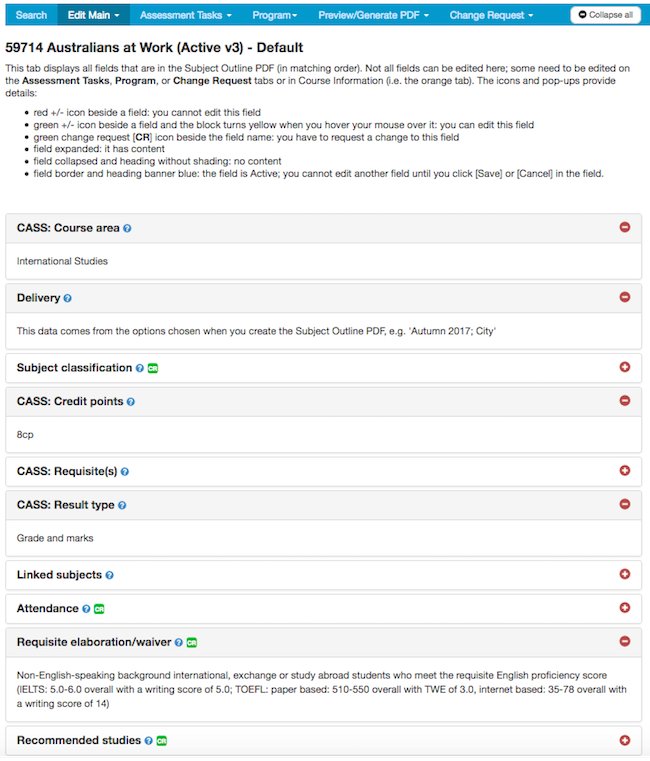
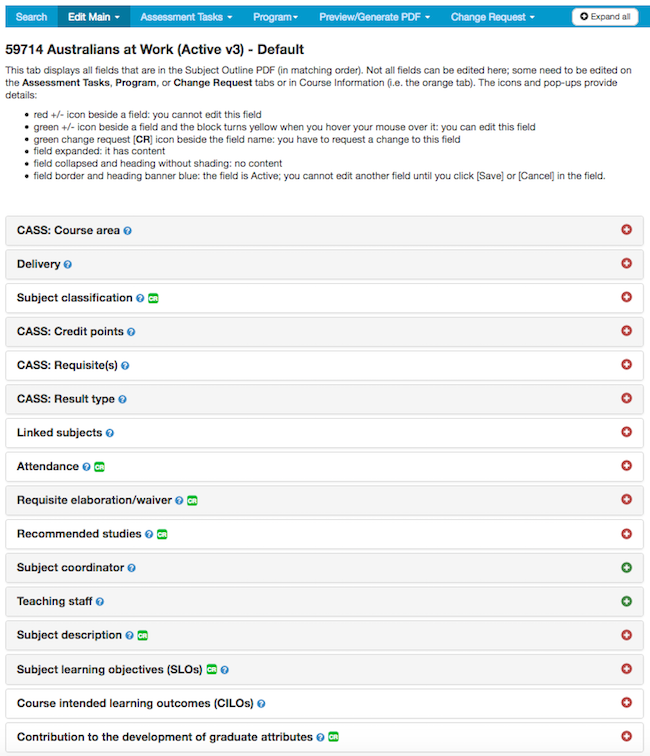
To see or edit all the fields that make up the Subject Outline PDF, hover your mouse over the Edit Main tab and choose 'Edit':
How is the screen set up?
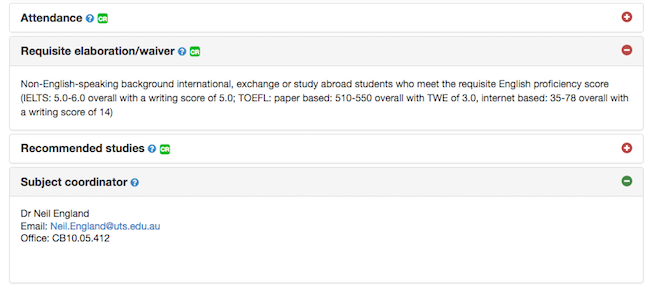
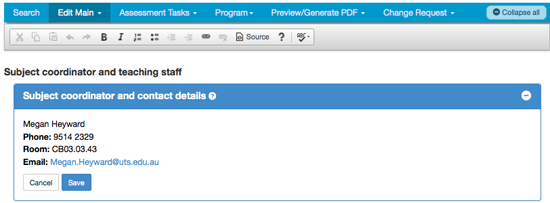
Data is displayed in field boxes with grey borders. The field name is in bold at the top of the field box. If there is data in the field, the field name is in a shaded banner and the field is expanded, by default (e.g. see 'Subject coordinator'). If there is no data in the field, the field name is in a non-shaded, white banner and the field is collapsed, by default (e.g. see 'Recommended studies').
No content
If there is no data in a field, the text '[no content]' is displayed once the field is expanded (e.g. see 'Attendance').

In-context help
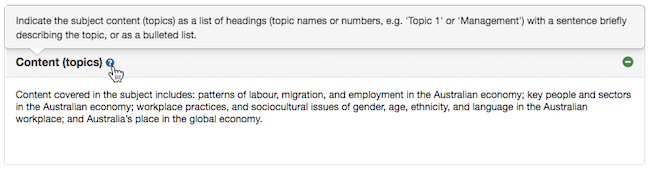
The blue circle with a white question mark beside every field name provides in-context help. Hover over this icon to get a pop-up box containing field formatting, work count, content and style guidelines.
Note: Information must be written in the present tense, third person, using full sentences (unless the field does not require full sentences).
Marketing speak, unsubstantiated non-factual claims, and jargon should be avoided.
How do you know what you can edit?
A green +/- icon (i.e.  or
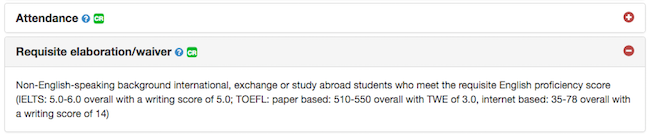
or  ) means you can edit the field. In addition to the green +/- icon, any field you can edit, when expanded, also turns yellow when you hover your mouse over it.

A red +/- icon (i.e.  or
or  ) means you cannot edit the field. In addition to the red +/- icon, some fields that you cannot edit also have a green change request icon (i.e.
 ![]() ) beside the field name. You can request changes to these fields via the Change Request tab in the subject's 'Default' instance (if your faculty uses the Workflow function), or via your faculty's existing approval processes.
) beside the field name. You can request changes to these fields via the Change Request tab in the subject's 'Default' instance (if your faculty uses the Workflow function), or via your faculty's existing approval processes.
Which fields come from CASS?
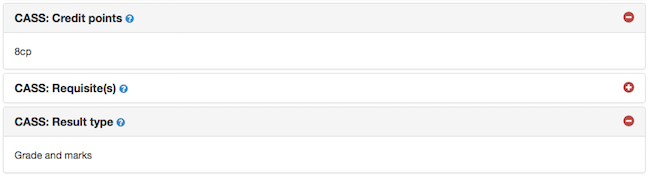
CASS fields are labelled with 'CASS:' as the prefix to the field name and always have a red +/- icon (e.g. see 'CASS: Credit points). Changes to CASS fields are via your faculty's usual procedures.
Amending data
To amend data, hover over an expanded field; one of two things happens:
- If you have edit access, the text area turns yellow. Click on the yellow area and:
- if the field is editable via the Edit Main tab, the grey banner and border around the field changes to blue, and [Cancel] and [Save] buttons are now visible inside the text box. The field is now active and editable.

- if one or more of the fields are editable, but not via the Edit Main tab (i.e. the 'Program' and 'Assessment tasks'), you instead get a dialogue box. Choose the relevant active button and you're taken to the tab where you can make or request your changes. Hover over the button to get pop-up in-context help about what the button does (note: a greyed-out button is inactive and won't take you anywhere, but still has pop-up in-context help when you hover over it).
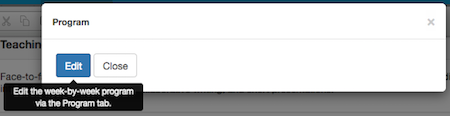
- [Edit]: takes you to the Program tab where you can edit the week-by-week program
- [Close]: closes the dialogue box
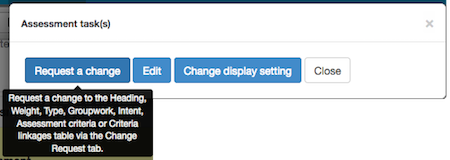
- [Request a change]: takes you to the Change Request tab where you can request a change to the 'Heading', 'Weight', 'Type', 'Groupwork', 'Intent', 'Assessment criteria', 'Criteria linkages table'
- [Edit]: takes you to the Assessment Tasks tab, 'Manage tasks' where you can choose the relevant assessment task's [Edit] button and then update the 'Task', 'Length', 'Due date', or 'Further information' fields
- [Change display setting]: takes you to the Assessment Tasks tab, 'Manage tasks' where you can switch the display setting on or off for a particular assessment task
- [Close]: closes the dialogue box
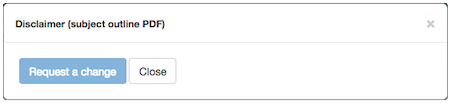
- If you do not have edit acess, the text area does not turn yellow. Click on the existing text (or '[no content]') and you get a dialogue box. Choose the relevant active button and you're taken to the tab where you can request your changes. Hover over the button to get pop-up in-context help about what the button does (note: a greyed-out button is inactive and won't take you anywhere, but still has pop-up in-context help when you hover over it).
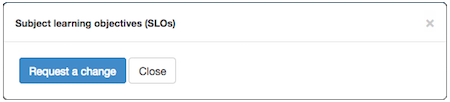
- [Request a change]: takes you to the Change Request tab where you can request a change to the field (e.g. 'SLOs')
- [Close]: closes the dialogue box
- [Request a change]: this button is greyed-out and inactive and therefore takes you nowhere, but still has pop-up in-context help when you hover over it advising you to request a change to the field via your faculty's usual procedures
- [Close]: closes the dialogue box
Click the [Save] button to save your changes. If you've clicked in a field and don't want to make any changes or don't want to save the ones you've just made, click the [Cancel] button.
How do you format your data?
Once you've clicked into a field and made it active, the text editor toolbar, very similar to MS Word styling buttons, appears at the top of the screen, directly under the tab names.
Amend the data as required and format it using the buttons in the toolbar.
Formatting options include:
- lists (bulleted or numbered)
- nested lists (i.e. lists within lists)
- bold
- italics
- headings (at one level only)
- links (to URLs or emails).
Not all fields use the same set of formatting capabilities, e.g. a heading is available in 'Content: additional' but not in 'Field trips'; lists are available in 'Additional subject costs' but not in 'Subject coordinator and contact details'.
Active fields
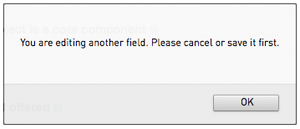
You can only edit one field at a time (i.e. there can only be one active field at a time). If you try to edit more than one, you'll get a warning message: 'You are editing another field. Please cancel or save it first'.
Active fields have a blue border and blue shaded heading.
Expand or collapse fields
When you first go to the tab, all fields with data are expanded. You can collapse all fields, so you just see the field names, by clicking the [- Collapse all] button (located at the top of the screen on the right-hand side of the tab banner).
To expand all fields again, click the [+ Expand all] button (located at the top of the screen on the right-hand side of the tab banner).
In addition, you can individually expand or collapse a field by clicking the green or red plus or minus icon on the top right-hand side of the field name banner.
Alternatively, clicking the field name will also expand or collapse the field.
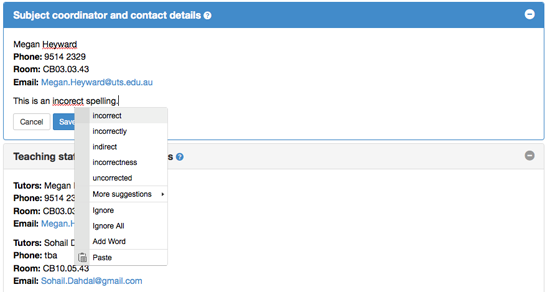
Spellchecker
In the text editor, as in Microsoft Word, any incorrectly spelled words are underlined with a wavy red line. Correct the spelling by right mouse clicking on the word (PC) or by clicking on the word and holding the [Control] button at the same time (Mac) and choosing the correct spelling from the options on the pop-out list.
By default the editor is switched off. Turn it on by clicking the spellchecker icon (![]() ) in the tool bar. The language is set as British English.
) in the tool bar. The language is set as British English.
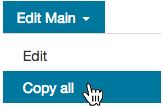
Copy all
If your access allows it, you can copy all data from another subject/instance into the one you're working on by choosing the 'Copy all' option on the Edit Main tab dropdown. Only admin users have access to this function.
Note: only the 'Default' instance of the subject will be copied. If you're copying from a subject with several instances, after you've copied the 'Default' instance, if required, you have to manually create the other instances and then separately copy the data into each of them.
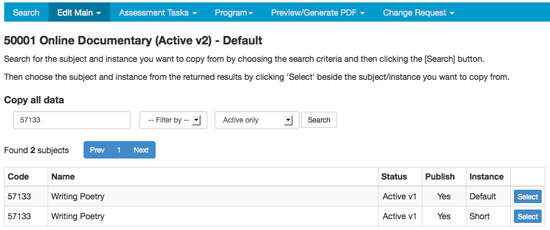
Search for the subject you want to copy by choosing the search criteria and clicking the [Search] button. Then choose the subject from the returned results by clicking 'Select' beside the subject/instance you want to copy from.
You will be asked to confirm the copy.

If the subject has graduate attributes data that also needs to be copied, tick the checkbox beside 'Include graduate attributes'. Then click the [Yes, copy all data] button to finish the process, or 'No, select another subject'.