
Program tab
 The user training video Subject Outlines: Program also shows you how to customise a week-by-week program via the Program tab.
Update the week-by-week program table via the Program tab.

When displayed in the subject outline PDF, the week-by-week program columns are:
- Week/Session
- Date
- Description (includes the 'Description' and 'Notes' fields; 'Notes' apprear in the same column but under 'Description'
The screen is displayed like a table, with a heading banner at the top specifying what information is contained in each column:

Note: StuVac dates are displayed above the table to alert you to when they are; the table will not automatically label the StuVac week.
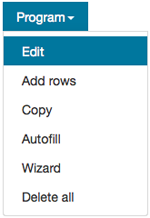
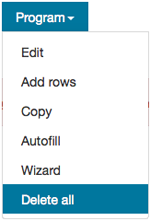
Edit
The 'Edit' option on the Program tab dropdown takes you to the existing program table (if any) where you add the required data to separate fields; each field represents a cell in the program table. If no table has been set up, you need to add the rows and then add the data.
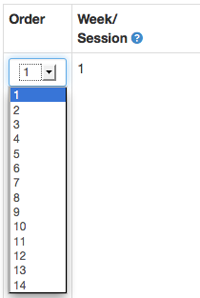
Order
In the 'Order' column there is a numbered dropdown against each row which enables you to reorder the rows by choosing a different number.
Week/Session and Date
In the 'Week/Session' and 'Date' columns you can manually add the week numbers and dates. Hover your mouse over the columns; it will change to a block of yellow; click in the yellow area and edit as required. Click the [Save] button at the bottom of the columns when finished. This will save all changes made in both columns. Alternatively, the dates can be autofilled.
Content
In the 'Content' section you can edit the description and notes fields. Click the one you want to edit; an edit box will open. Amend the data and click the [Save] button.
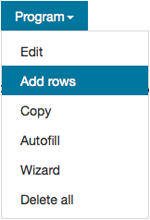
Add rows
The 'Add rows' option on the Program tab dropdown enables you to add as many rows as you want to the table. Choose 'Add rows'.
Insert the number of rows you want, e.g. 12, and click the [Add] button. The new rows are inserted after any existing rows. Once you have added the rows you can then move them to where you want via the order column.
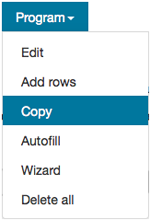
Copy
The 'Copy' option on the Program tab dropdown enables you to copy all program data from another subject into the one you're working on. Choose 'Copy'.
Search for the subject you want to copy from by completing the search criteria and clicking the [Search] button. Then choose the subject from the returned results by clicking 'Select' beside the subject you want to copy from. Note: You can only copy from a subject that you have access to. Contact the APO for assistance with copying from other subjects.
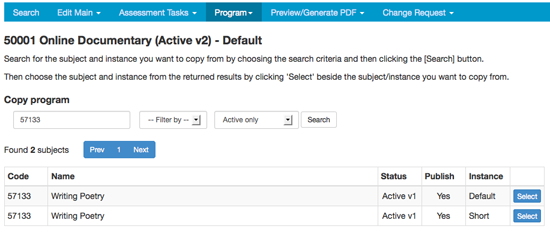
You'll be asked to confirm the copy.
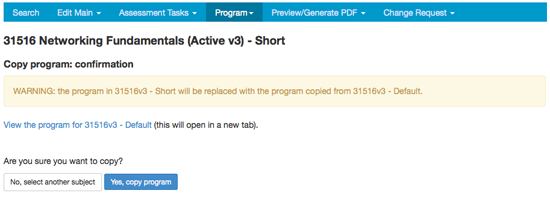
Click the [Yes, copy program] button to finish the process, or 'No, select another subject'.
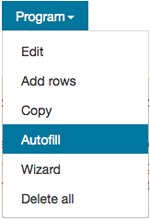
Autofill
The 'Autofill' option on the Program tab dropdown enables you to auto-populate data into the 'Date' column in all existing rows using the session start date held in CASS as the first date. The date added to the first row of the program will be the first Monday of the teaching period chosen.
Including an orientation week in the program
To include an orientation week in the program and to autofill the correct dates, follow these steps:
- move the orientation week row to the bottom of the program (using the 'Order' function)
- use the autofill function for the required teaching period
- move the orientation week row back to the top of the program
- manually amend the date in the orientation row.
Note: Ensure you have sufficient rows set up before you autofill (see 'Add rows'). Choose 'Autofill'.
Select the teaching period you want to autofill for and click the [Fill] button.
Wizard
The 'Wizard' option on the Program tab dropdown enables you to create a tailored week-by-week program specifying: (a) the week the subject starts (useful when a subject starts before the session start date), (b) up to two sessions per week, and (c) how many weeks (i.e. rows) you want in the table.
- Choose 'Wizard'.

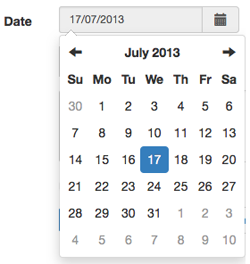
- Choose the week the subject starts by clicking on the pop-out calendar and choosing the Monday of the week you want.
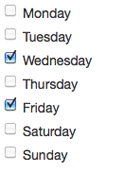
- Choose the day the subject is on, or if there are two sessions, choose two days. The actual date(s) for each session will auto-populate into the program. You can choose a maximum of two days. Un-check the days to reselect other days.
- Specify how many weeks/rows you want in the table (up to a maximum of 52).
- Click the [Generate] button.
Delete all / Delete
The 'Delete all' option on the Program tab dropdown enables you delete all existing rows in the program table. Choose 'Delete all'.
You will be asked to confirm the deletion. Click the [Yes, delete all program] button to finish the process, or 'No, do not delete'.
If you want to delete only one row, use the [Delete] button to the right of the row.