
Update
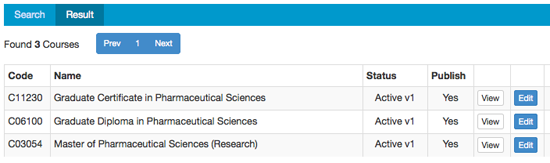
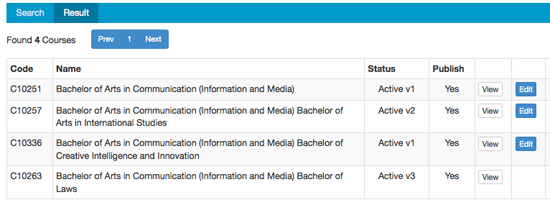
To update data, search for the study package (i.e. course, subject, major, sub-major, etc.) you want to update. From the Results tab click on the 'Edit' link to go to the Edit tab. Only fields you have access to edit appear on the Edit tab.
To see all data (i.e. CASS and CIS data) click the 'View' link; you'll be taken to the View tab.
Only the owning faculty can update their data in CIS. If you are the secondary owner of a course (e.g. a combined degree) you will be able to see the data (on the View tab) but you will not be able to update the data (as you won't have an 'Edit' link).
Contact the owning faculty to request data changes to combined degrees.
 The user training video Updating Faculty Data shows you how to search for and update faculty data (for the handbook, subject outline PDFs, etc.).
Edit tab
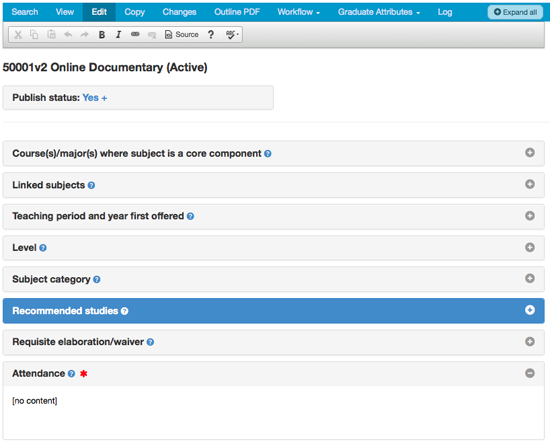
On the Edit tab, editable data is displayed as expanded fields with formatting under the field name. Inactive fields (i.e. those not open for editing) are indicated by a grey banner and border around the field.
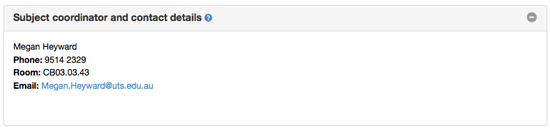
If there is no data stored in a field, '[no content]' is displayed under the heading.

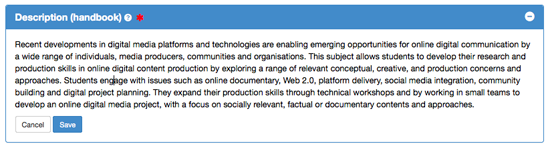
To update any field, hover your mouse over the field data (or '[no content]' if there is no data in the field). It will change to a block of yellow.

Click in the yellow area. The field is now active (i.e. you can edit it). The text editor tool bar will appear in a static location at the top of the screen, directly under the Edit tab. The active field is indicated by a blue banner and border around the field.
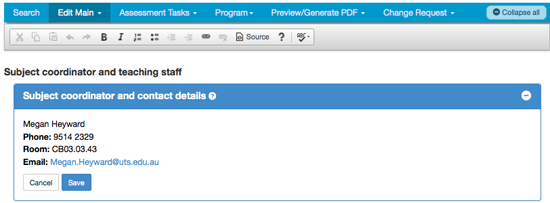
Click in the field and start typing.
Note: As some fields are used in many publications, it is very important that the field contains data as specified in the field format guidelines. Information must be written in the present tense, third person, using full sentences (unless the field does not require full sentences). Marketing speak, unsubstantiated non-factual claims, and jargon should be avoided.
Format the data using the buttons in the text editor tool bar (always located at the top of the screen, directly under the Edit tab).
| Button | What does it do |
|---|---|
 |
Cut the highlighted text to the clipboard |
 |
Copy the highlighted text to the clipboard |
 |
Paste as plain text |
 |
Undo or redo the most recent action |
 |
Format the highlighted text as bold or italic |
 |
Format the highlighted text as an ordered or unordered list |
 |
Increase or decrease the indentation (used to create nested lists) |
 |
Add/edit and remove links (URLs or email addresses) |
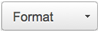 |
Add/remove a heading |
| Turn on/off the spellchecker; the default is off (see details below) | |
 |
View or edit document source code (for advanced users) |
 |
About the text editor |
Not all fields use the same set of formatting capabilities, e.g. headings or lists are available in some fields and not others.
Click the [Save] button to save your changes. If you've clicked in a field and don't want to make any changes, just click the [Cancel] button.
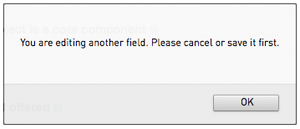
You can only edit one field at a time. If you try to edit more than one, you'll get a warning message: 'You are editing another field, please cancel or save it first'.
Note: If you have edited a field, not saved it, collapsed all fields and then try to edit a different field, you'll get the warning message. The active field, i.e. the one you're editing that needs to be either saved or cancelled, will be highlighted in blue.
Expand and collapse control
When you first go to the Edit tab, all fields are expanded, meaning you can see the data in all fields by scrolling. You can collapse all fields, so you just see the field names, by clicking the [- Collapse all] button (located at the top of the screen in the tab banner).
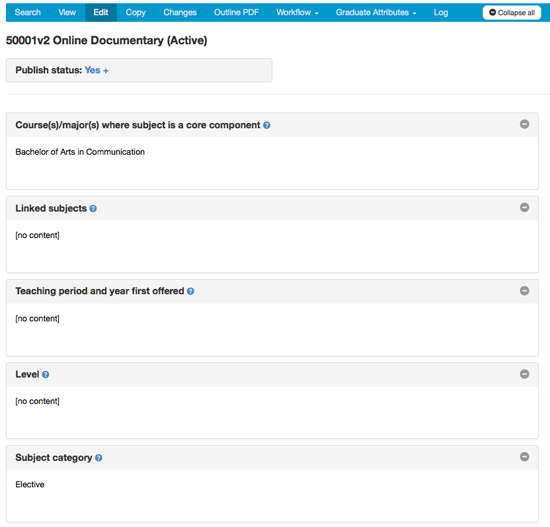
To expand all fields again, click the [+ Expand all] button (located at the top of the screen in the tab banner).
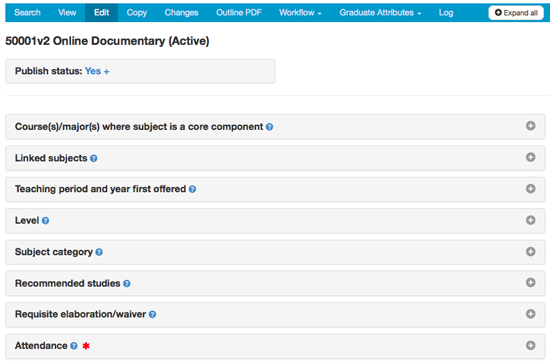
In addition, each field has an individual expand [+] / collapse [-] button. It is located in the top right hand corner of each field.
Clicking it will expand or collapse only that field.

Alternatively, clicking the field name will also expand or collapse the field.
Spellchecker
In the text editor, as in Microsoft Word, any incorrectly spelled words are underlined with a wavy red line. Correct the spelling by right mouse clicking on the word (PC) or by clicking on the word and holding the [Control] button at the same time (Mac) and choosing the correct spelling from the options on the pop-out list.
By default the editor is switched on and the language is set as British English.
![[Spellchecker screenshot]](../images/subjectoutlines/spellchecker.png)
Copy tab
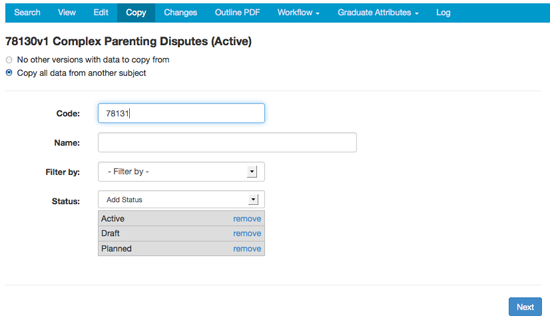
On the Copy tab, you can copy all data from a previous version or from another course, subject, major, sub-major or study package into the course, subject, major, sub-major or study package you're in. You would do this if:
- there was a version change and the new version needs the data from the previous version (see Version change for details)
- a course, subject, major, sub-major or study package had a code change, but the descriptive data (if any) is the same for the new code
- a subject has a 6-credit-point and 8-credit-point offering with different codes, but the same descriptive data is required
- you want to change a subject's parent course (via the subject's Graduate Attributes tab, 'Parent study package') and you don't want to disconnect the CILOs already set up in the subject's assessment task criteria linkages tables (in Subject Outlines). In this case, you need to copy the graduate attributes data to the new parent course (via the course's Copy tab, tick off 'CI data, with' but choose 'Graduate attributes: GAs, CILOs and Contributing study packages') INSTEAD OF changing the subject's parent course. You would usually only need to do this when a significant number of contributing study packages are affected and you therefore want to copy all the graduate attributes data from one course to another.
Note: when copying a subject, only the 'Default' instance of the subject will be copied. If you're copying from a subject with several instances, after you've copied the 'Default' instance, you need to manually create the other instances (in Subject Outlines) and then separately copy the data into each of them.
On the Copy tab, choose 'Copy all data from another [course/subject/major/sub-major/study package]', and complete the search criteria, e.g. the code of the course/subject/major/sub-major/study package you want to copy from, and then click the [Next] button. You may need to adjust the status, e.g. include a phased out study package.
A results list will be displayed.
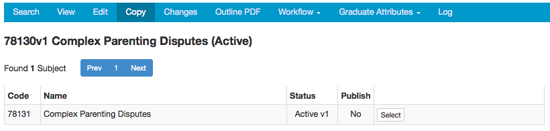
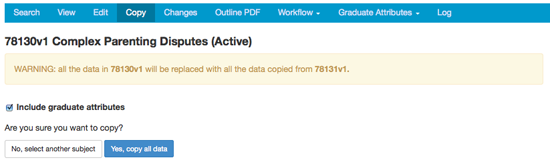
Choose the course/subject/major/sub-major/study package you want to copy from by clicking the 'Select' link. You'll then get a warning advising you that all current data will be replaced with all data from the selected course/subject/major/sub-major/study package; if the course/subject/major has graduate attributes data that also needs to be copied, tick the checkbox beside 'Include graduate attributes', then click the [Yes, copy all data] button to confirm you want to do this.
All data from the selected course/subject/major/sub-major/study package will now be copied into the current course/subject/major/sub-major/study package, overwriting any data that was already there. Amend as/if required.
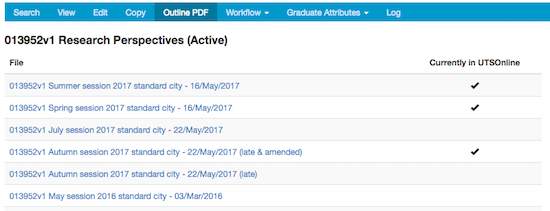
Outline PDF tab
The Outline PDF tab is available in subjects only and provides a list of all subject outline PDFs that have been generated for the subject and their availability on Canvas. The outlines can be downloaded for viewing from this tab by clicking on the file name.
Log tab
The Log tab lists the edit history for all fields. This means you can see which user(s) has/have made edits to fields in the study package and when these edits were made.
Workflow tab
The Workflow tab is available to all users in subjects only. It allows you to see if there is a change request in progress and enables you to view the details of the change request or create a draft PDF including the requested changes.
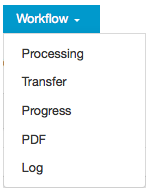
- If no change request is in progress, the tab drop-down only displays the 'Log' option.
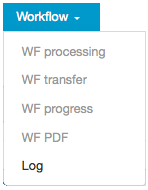
- If a change request is in progress, the tab drop-down displays the 'Processing', 'Progress', 'PDF' and 'Log' options to all users. Depending on the your access level, you may also see the 'Transfer' option.
See Workflow for full details on this function.